Showing posts with label Yoga. Show all posts

Monday, September 22, 2014

Handmade Yoga Knee Pads #2


Knee, back or head long pad 5 ½” x 24” 

Knee or heal pads 5” x 7” 

I’m feeling generous. So, someone will be receiving these as a  gift! Anyone out there do yoga?

I notice that there are some people in my yoga classes who either fold their yoga mats or use blankets for their knees.  I’ve made these before and bring them to class. Sometimes, I will go over and let someone try these out if I notice them having some trouble with their knees, or I hear them tell the instructor before class that their knees are bothering them. Luckily, I don’t have that problem—yet.

These are so easy to make. So far I’ve used cotton fabric with cut up yoga mats inside. The next ones I make, I think I will try other things inside, like quilted muslin stuffed with thick plush batting or fabric scraps.

(See MONDAY, APRIL 22, 2013

“Yoga Accessories: Small & Long Yoga Pads” for the first yoga pads I made.

Theses don’t just have to be used for knee pads. I will use them for the soles of my feet when my feet have to be on the hardwood floor. I will also use them to cushion my head when we do a pose where we stand with out feet spread apart, then bend down and sometimes my head can touch the floor! Or they can be used as a pillow.
The small pads are made envelope style. The mat can also be taken out to was the cover

Here is the cut-up mat that goes inside the envelope cover

This is how it looks when the cut-up mat is inserted

On this long mat, I sewed one end and tucked the other end, it can be taken out for washing

Pretty cotton fabric from JoAnns
See 


Tuesday, August 12, 2014

Mini Art Quilt - Yoga Sticks Sun Salutations #1


I really like my yoga instructors at FreeSpirit Yoga, here in Long Beach, Ca. They are my friends now, because they are so wonderful!

I am in the process of sewing gifts for each of them to show my appreciation. So far, I’ve made this Mini Art Quilt - “Yoga Sticks” Sun Salutations for one of them, Jenni Brandon. As well as being a wonderful yoga instructor, she is also an award-winning composer, conductor! Please go visit her website .
Now, I am not an artist at all. No. No. No. No! I leave that up to my Childrens’ Book Illustrator Daughter, Christina Forshay, who certainly didn’t take after me in the art department. In fact, I can barely draw stick figures—really! But I used sun salutation stick figures to make this 11½”x 10” small art quilt for Jenni B. As usual, it took me far too long to make it. 

To determine what type of “Yoga Sticks” I wanted, I drew a few on the back of an envelope to see how they would turn out to see if I in fact, could draw stick figures.

Not bad, but if I wanted them to look more consistant, I had to use a Mac drawing program, Pixelmater to help draw my “Yoga Sticks.” Hey, for someone like me, who literally cannot draw, I need all the help I can get. Period.

I tried three different methods of using the drawings of my “Yoga Sticks” to see which one I wanted to go with, as far as designing the mini art quilt. I’ve used all three before.

One was to print a mirror image from my laser printer, then transfer the printed image onto fabric using a blender pen or Citra Solv. It works really well!

Second, was to print an image from my laser printer onto a transparency sheet, then place it on top of fabric.

Third—and this is the one I used, I printed the “Yoga Sticks” from my laser printer, then placed the printed sheet under white muslin and traced my “Yoga Sticks” onto it. I then sewed over the tracings a few times using the regular utility straight stitch set at 2.0. I didn’t do any free-motion, as I was afraid I wouldn’t be able to sew staring lines. I did have a hard time sewing the traced oval/circle heads on my “Yoga Sticks,” so I filled in the heads and tried to make them better shaped using a Sakura Identi-Pen Dual-Point Marking Pen. It is permanent and works well on fabric. It didn’t bleed at all on my muslin.

After I sewed over the tracings and filled in the heads with the marker, I dyed the white muslin. It came out a greenish blue color.

I put the rest of the mini art quilt together with home dec cotton and cotton ticking with extra firm stabilizer sandwiched in between.

Items I used to decorate this mini art quilt were: a vintage earring piece, different size “pearls,” ribbon, buttons, and a couple of decorative stitches.


I really hope my friend Jenni B enjoys my “Yoga Sticks” mini art quilt. I enjoyed making it.


Monday, August 4, 2014

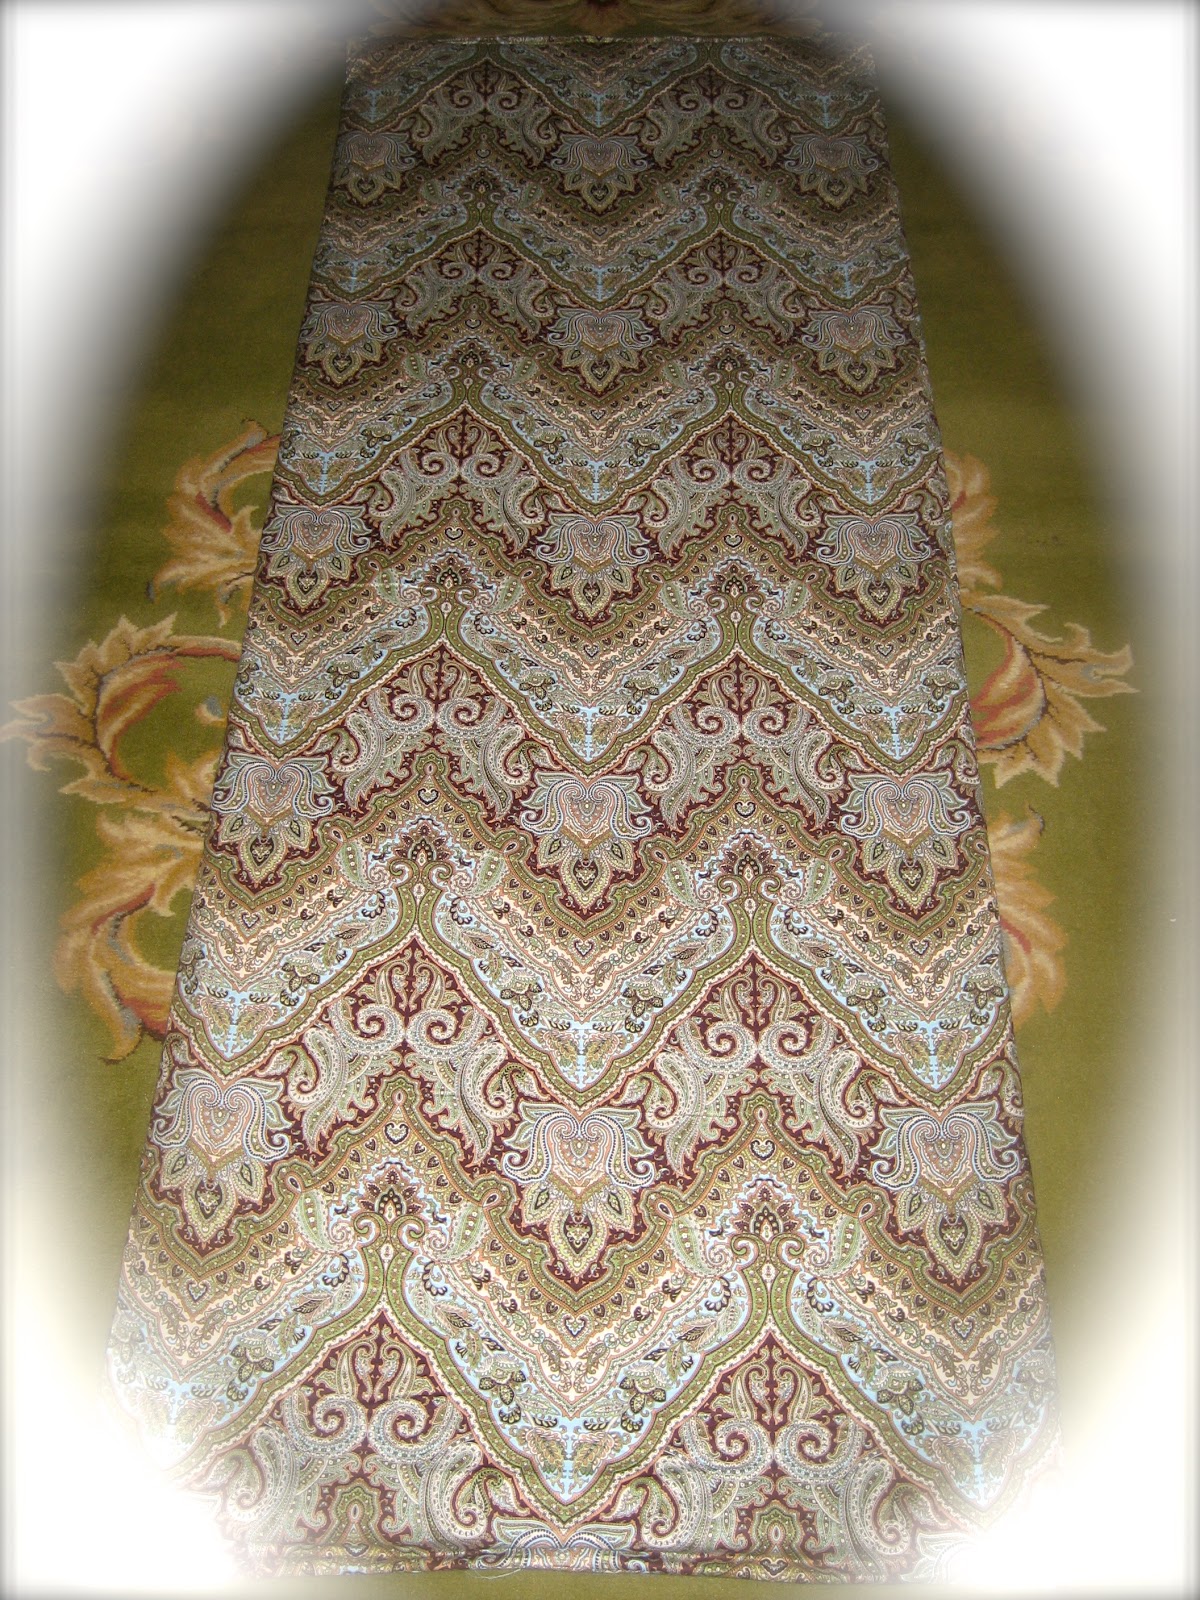
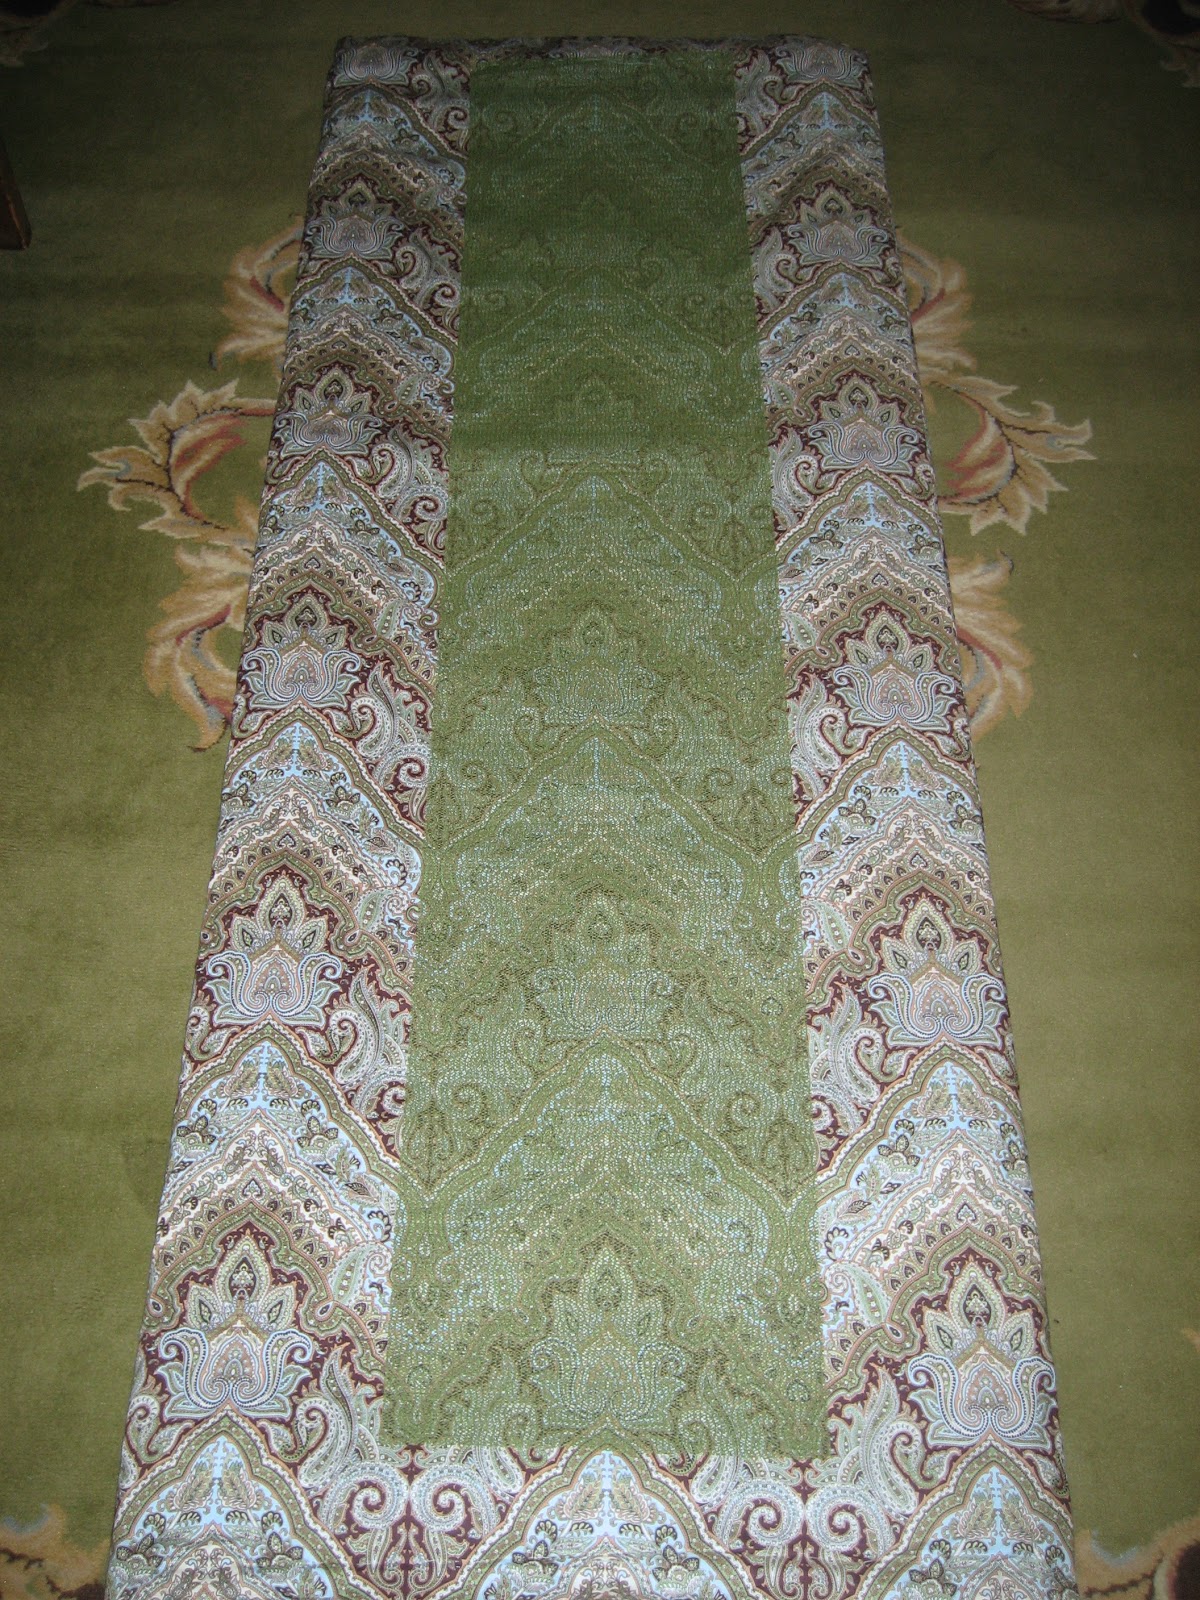
Pretty Cotton Fabric Pattern Used to Make Things

I just love this fabric pattern!  It’s a very soft cotton fabric. I’ve used it before to make yoga accessories, like a yoga mat and yoga pads
Oooh, pretty!

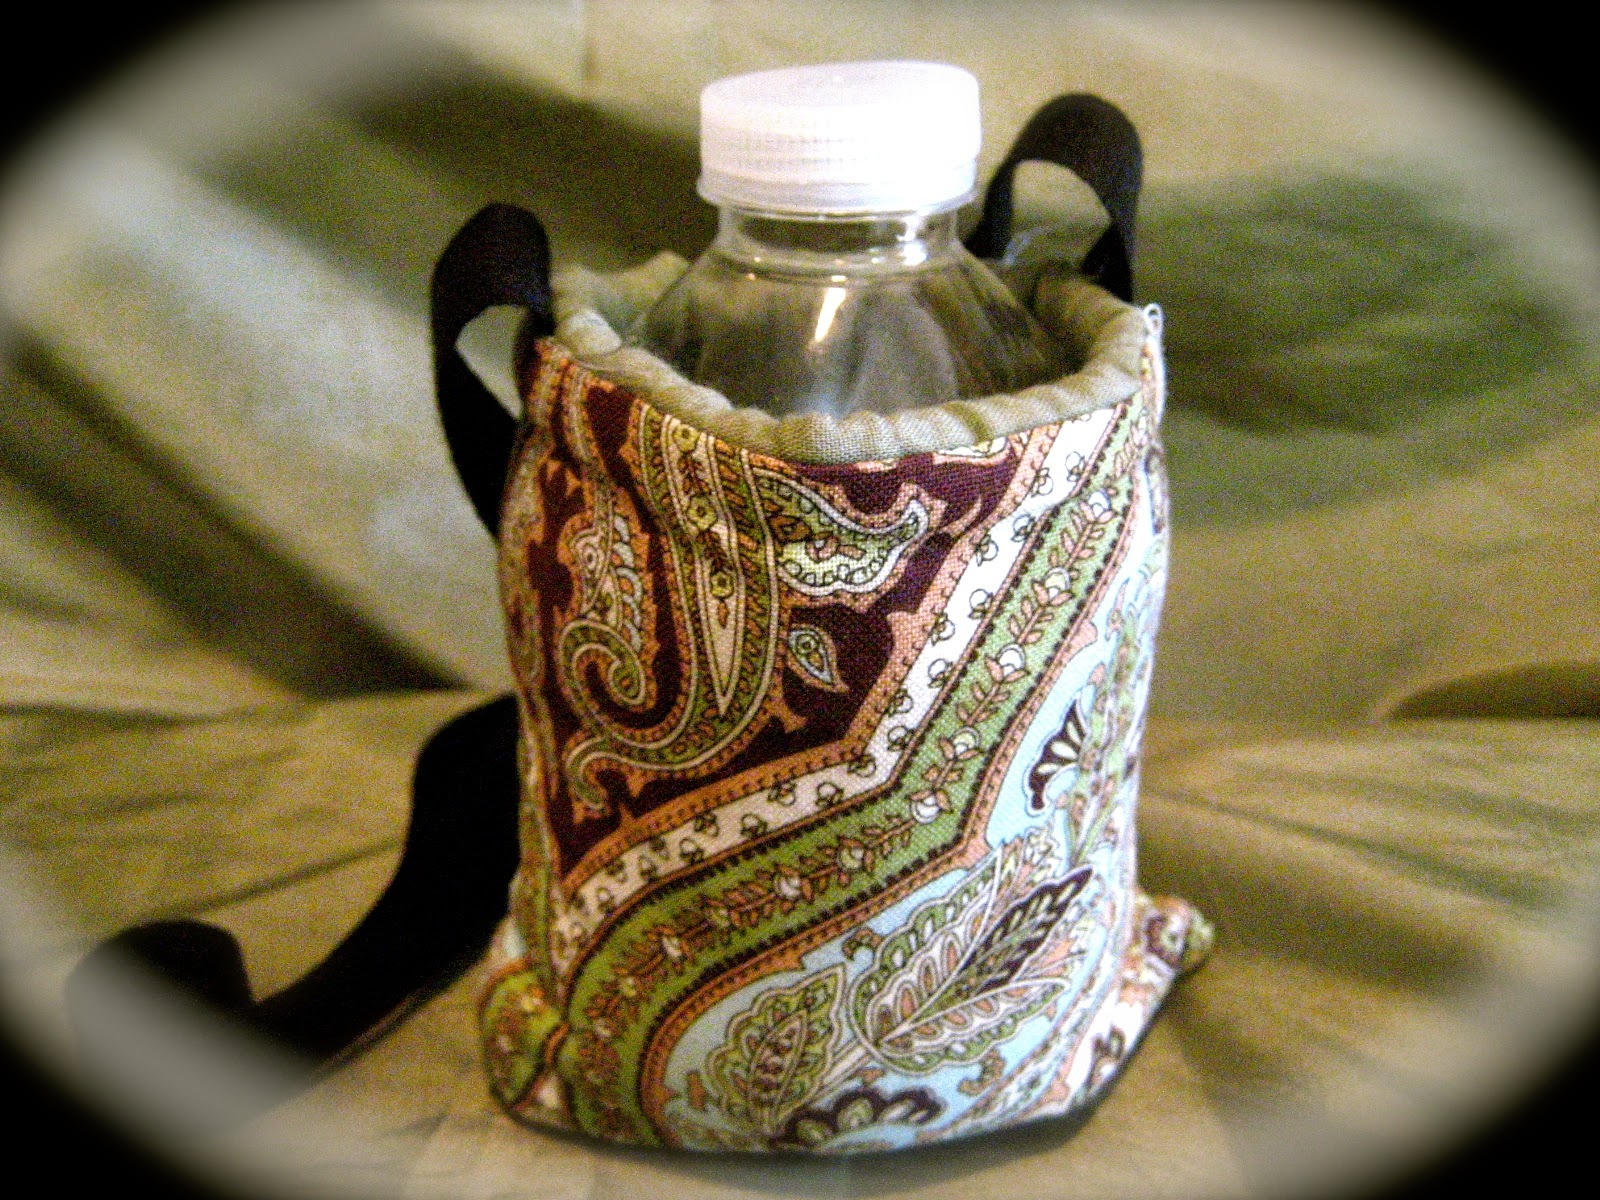
A very small water bottle carrier with insulated batting
Eyeglass holder with fleece lining, plus a travel tissue holder


Zippered bags in different sizes, ranging from the largest 11½” x 10¼” to the smallest is 4 ½” x 6 ½”

I make a lot of different zippered bags. I have them all over the house. And of course, give them away as gifts.

A few years ago, I needed something to take to the gym that wasn’t a purse, yet held my wallet, cell phone, and keys. I came up with a “hands-free neck purse.” They always come in handy when I have to hold my small grandchildrens’ hands without hanging on to a purse where the strap usually falls off my shoulders. I’ve since made several using a variety of different materials. For instance, this one is made with a store bought towel cut in half lengthwise. The  pockets are of course, using this wonderful cotton fabric pattern. Inside one pocket is a key fob.


Monday, July 21, 2014

Zippered Pouch Added to Yoga Mat Carrier

While I am working on something special for a wonderful yoga teacher, who is also a composer,  as well as a wedding gift for my niece—so sorry it’s taking so long Sweetie, I sewed a zippered pouch to attach to my store bought yoga bag, to hold more things, because apparently, I like to torture myself and carry more weight than is necessary. I’m always try to add homemade sewing accessories to my purchased items. Why?—I don’t know why. 

First, I made another pair of the small yoga pad covers to put under my sensitive heels when they have to touch the hardwood floor. I used one of my favorite, well-made heavy cotton material. It isn’t flimsy at all, but it also isn’t home dec fabric either. I purchased a lot of yards of this a few years ago at JoAnns. I really wish I hadn’t sold—at a great discount—a couple of yards of this fabric, to a woman who worked at JoAnn’s, as it is one of my favorites, and can’t be found any where anymore. 

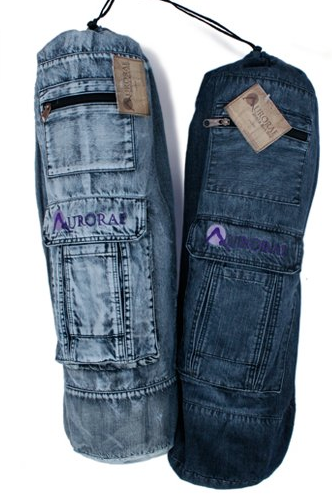
But, the main accessory I sewed, is the zippered pouch I attached onto the flap of one of these roomy yoga mat carriers, to cover up the purple logo—and yes, I bought both of them because I couldn’t decide which one I wanted. It is the Aurorae Yoga Mat Bag “The Mat Sak” 100% Cotton Premium Ring Spun Denim. I bought them on Amazon back in May.

Anyway, here is the zippered pouch I made. Behind the bag is a water bottle carrier that I also made. I  can attach it to the carrier sling.

Inside, the zippered pouch holds my small yoga pads I made, but I can put other things in it as well.


Every time I turned over the bag to empty out the mat, everything came out of the large cargo pocket, like my sunglasses and iPhone. The velcro apparently isn’t sturdy enough, so I added a strong snap that covers both the large cargo pocket as well to the cell phone pocket on the yoga carrier. My cell phone doesn’t fit inside the little pocket because my iPhone cover is too big. But I’m sure I can find something else to put in there. Plus, it will stay closed at the same time the large cargo pouch is closed, since the large cargo pouch flap snaps onto the little pocket.
Note that when the pouch is lifted, the top flap of the yoga bag is also lifted. That’s because I also sewed a stay stitch along the top and the sides above the zipper, as well as inside the back of the pouch through the opening of the zipper so that when the pouch is lifted, the logo still can’t be seen.


Monday, April 22, 2013

Yoga Accessories: Small & Long Yoga Pads


In an earlier post, I made my own yoga mat, I originally insert a very thin yoga mat. Well, I took it out, so that my yoga mat could be less bulky. Since I have very sensitive knees and soles on my feet, I needed to come up with something that would be small enough to fit inside my yoga bag. Well, here they are.
I made an envelope style cover approx. 5" x 6" (Cotton outer fabric with flannel lining)

Worn old yoga mat - size 24" x 36" x 1/8"

Cut yoga mat lengthwise approx. 5.5" wide. (This will be the finished width of the yoga pad.)
 x 30" long. (Folded, this will be the finished length.)


Fold cut yoga mat in half lengthwise, then try-fold.

Inserted folded cut yoga mat inside envelope cover with flap turned inside out.

Flip the flap right side out, and here is what you get. It is very comfortable for those of us with sensitive heels and the palms of hands.


Here is a longer one, keeping the width of the original old  yoga mat.


Monday, April 15, 2013

My Own Homemade Yoga Mat


This fabric--from Jo-Ann's, the store--is so beautiful, that I had to purchase at least ten yards! Since I go through so many yoga mats, I decided to make my own. I wanted to make it soft and fluffy. It was very simple to make. It is the size of a regular yoga mat. All I did was take the measurements of a yoga mat. The inside is double-layered with natural cotton batting from my nearest Jo-Ann's store. The outside green thingy is that non-slippery cupboard shelf lining. And yes, it does work, meaning that the my homemade mat isn't slippery. It is sewn onto the bottom side of the outside fabric.

This is the front of my homemade yoga mat.
This is the other side that has a rubberized
shelf lining attached so it won't slip while
on the floor.


Monday, July 25, 2011

Yoga Bags

I've been taking yoga since the beginning of 2009, I love it!! I'll go about 4 to 6 days a week. I bought this Stott Pillates Express Mat in sage green. It's 3/8" thickness wasn't hard on my knees, hands or head. The only problems I had was that when unrolling it, it kept curling. It also felt a bit squishy. I did solve that when I made a cover for it made out of the Vintage Old Tin Can fabric. I'll take a pick to show sometime soon.

I later purchased the Aeromat Ecowise 3/8" Fitness Mat in black. It is not squishy at all. I put a regular green mat next to it to show the size difference. The bags I made fit both the Stott Pilates and the Aeromat mats.


Here are pictures of my first mat bag. It is large enough to hold a thick mat as well as a hand towel. The bottom of the bag has a large pocket. There are also two zippered pockets.
Can't have too many pockets and zipper pockets.
I can even put a hand towel in there.
It has a very large pocket on the bottom.
I put workout accessories in them.

Below are two pics of the second yoga mat bag I made. Notice that there is a large removable  pocket on the bottom of the bag in the first picture. I used Velcro.
This pic shows the pocket attached.

This pic has the pocket removed.
I also made this water bottle carrier. I went through quite a few water bottles, including aluminum, plastic, and stainless steel. I finally settled on this Thermos carrier. It really keeps my water cold. I've even left it in my trunk overnight. The next morning, my water was still cool! I have another Thermos bottle that isn't covered that I use at home. There is never any condensation on the outside.
My water bottle carrier has two snap pockets to keep money/credit cards/driver license. I can even put folded paper behind the large pocket.