Showing posts with label Transparency Sheets. Show all posts

Monday, September 8, 2014

A Mini Wedding Art Quilt for a Wonderful Niece #1 of 2

I have promised a small mini art quilt for a wonderful niece since, I don’t know, sometime last year!  Well, she got married this February. So, I thought I should try to finish one soon. I want them to be perfect. There are a few mistakes, er changes, but, as I’ve been told, the imperfections are what make these mini art quilts unique. Still, it’s hard for me to go outside the box. If only I did that, all of my mini art quilts would be finished much sooner.

Anyway, here is one of them. (I made her two since she was so patient.) I’ll show the other one next week.

She received them last week; so it’s safe to show them here now.

 What I used to make this 15” x 11.5” mini art quilt:
* Laser printed transparency sheet with picture pulled from the computer.
* Three different types of home dec cotton fabric
* Moire fabric (with a wavy watered appearance), for the birds, flower, and hearts
* Same home dec cotton fabric for the butterflies
* Sizzix butterfly die
* Peltex batting sandwiched between  the fabric to help make the mini art quilt stiff
* Buttons
* Heat set heart gems
* Crystals for the birds eyes
I frayed the edges of the frame and used colorful decorative thread. I sewed around the appliqués using the appliqué stitch.


Monday, August 25, 2014

Mini Art Quilt for a Dear Adult Daughter for Her Birthday

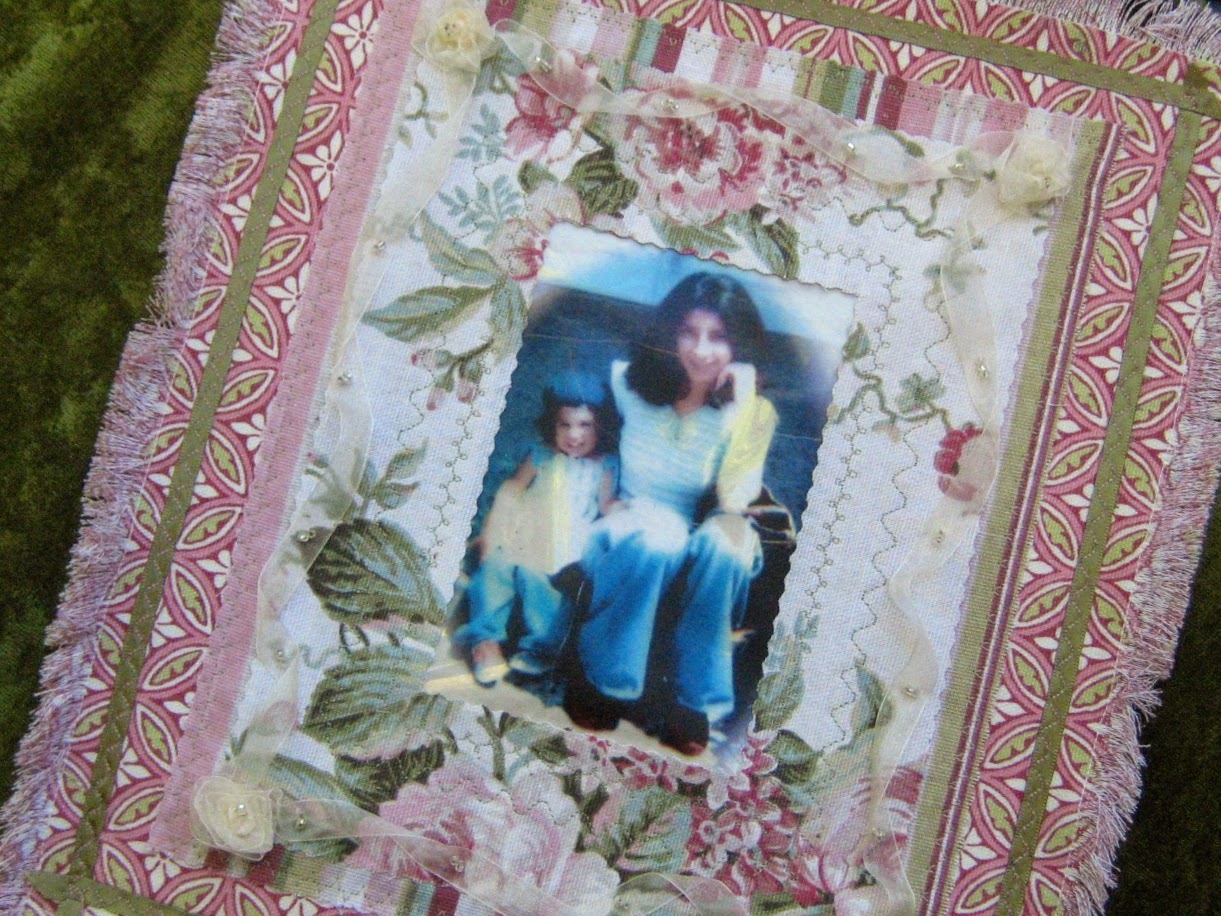
A couple of weeks ago was my oldest daughter’s birthday. I decided at the very last minute to make her a mini art quilt using my favorite picture of her. She’s about twenty-two months. (I’m the bigger one on the right.) Of course, it took me over a week to make it. I have an excuse though. I am also trying to finish two other small art mini quilts for a very dear niece. I’ve been working on them for—what, almost a year?! That’s why she gets two of them!

Anyway, the size of this very small art quilt is 11inches x 13 inches.  I used three matching home dec fabrics, decorated with small green ribbon, along with very tiny silver glass rocaille seed beads attached to a light almost clear ribbon. I made roses out of the ribbon also. The picture was scanned, then printed on a transparency sheet using my color laser printer. Pretty.


Monday, July 7, 2014

"AngelRose” Black & White Mini Art Quilt

So, here’s one more”AngelRose” or “RoseAngel” mini art quilt. This one didn’t take very long to do. It is approximately 8” x 10 ½”. I came  up with the decorating ideas as I was making this little mini art quilt. 

Again, I used a transparent overhead projection sheet printed in black and white using my laser printer. The “AngelRose” picture is actually on top of a piece of white with black swirls cotton home dec fabric. I then made a window using black and white toile home dec fabric. I sewed crystal seed beads and glass beads to attach the toile fabric to the outer black with white swirls cotton fabric. I added glass beads inside the center of the black ribbon rosette—I made—continuing down along the ribbon. In the center of the bottom of the quilt, where the two ribbons meet, I added more glass beads. Also, I sewed very tiny seed crystal beads about ½” apart along the outer edge of the toile fabric. I took four black buttons and placed them on four corners of the quilt, and sewed little “pearls” into them. 

Finally, I put the front piece and the back piece, (black cotton fabric) of the quilt with the fronts facing each other, (with cotton batting attached to back of front piece), then sewed all around, leaving about a four inch space at the bottom to turn it right sides out. I added ¼” ribbon in the back for hanging.

I might add more things later on. This one I am keeping!


Below, are some closeup pics of this mini art quilt to be able to see the little tiny crystal seed beads.
Enjoy!


Monday, June 23, 2014

Mini RoseAngel Art Quilt Using Transparency + Baby Wipes (Unused ofcourse!)

Well, here is another RoseAngel Mini Art Quilt.

I know it’s been a couple of months since I posted anything, but life seemed to get in the way. I wish I could be like a lot of other craft bloggers out there who post weekly. Even if life does get in the way, they somehow still manage to put beautiful and amazing work out every week! My hat’s off to you wonderful craft bloggers out there.

Anyway, here is the finished project. This one measures about 10” x 12”. The fabric used was utility (bottom layer), ticking, (striped layer) and home decor (paisley). I put batting between the home decor and ticking fabric to raise the picture a bit. I added some decorative stitching, as well as stitched the see-through ribbon that went around the frame, (on the utility fabric).


A couple of unusual things I used: One was that I had some unused baby wipes that had dried out. I washed them, then dyed them. I also found that not all baby wipes are the same. I have a few different brands, and found the ones that feel more like cotton, work better. They are softer, and take the dye better. I put one under the printed out transparency picture. 
That’s the second unusual thing I used. I found a box of old transparancies from the early 90’s, the ones used for color copiers for overhead projectors. I printed on them using my laser printer, since it also uses toner. (Just so I don’t waste any of the sheets, I print a few pictures on one sheet, then cut them out. If I had to buy some more, I’m sure they would be expensive. (Example: Staples brand is 100 sheets for around $62. I also looked and saw that there are ones for laser printers for around $21 for 50 sheets.)


A closeup of my Mommy when she was a little girl, dressed as an angel. She sure was a beautiful little thing. She also grew up to be a very beautiful Wife, Mom, “Grandma Mom” (as my daughters’ called her), and Great-grandma, inside and out.

I made the decorative roses. This one was made out of fabric scraps, with a pearl tucked inside; while the one just below it was made from ribbon.


I took vintage costume jewelry for the other added decorations. I found this shiny small round “diamond” button, (including the one above, as well as two others I used), put through a very, very old safety pen. (I’ll take a pic of it one day soon. Hopefully. Don’t hold your breath.)


This ribbon has an earring attached.

I wrote this little saying for added decoration.

Here is the see-through ribbon that goes around the frame,where I used a decorative stitch to attach it to the utility fabric.


I added little “pearls,” using a pearl paint pen on the rick-rack. (Plus here’s a closer look at the fiber baby wipe. It’s a sage green color, even though it looks very light here.)